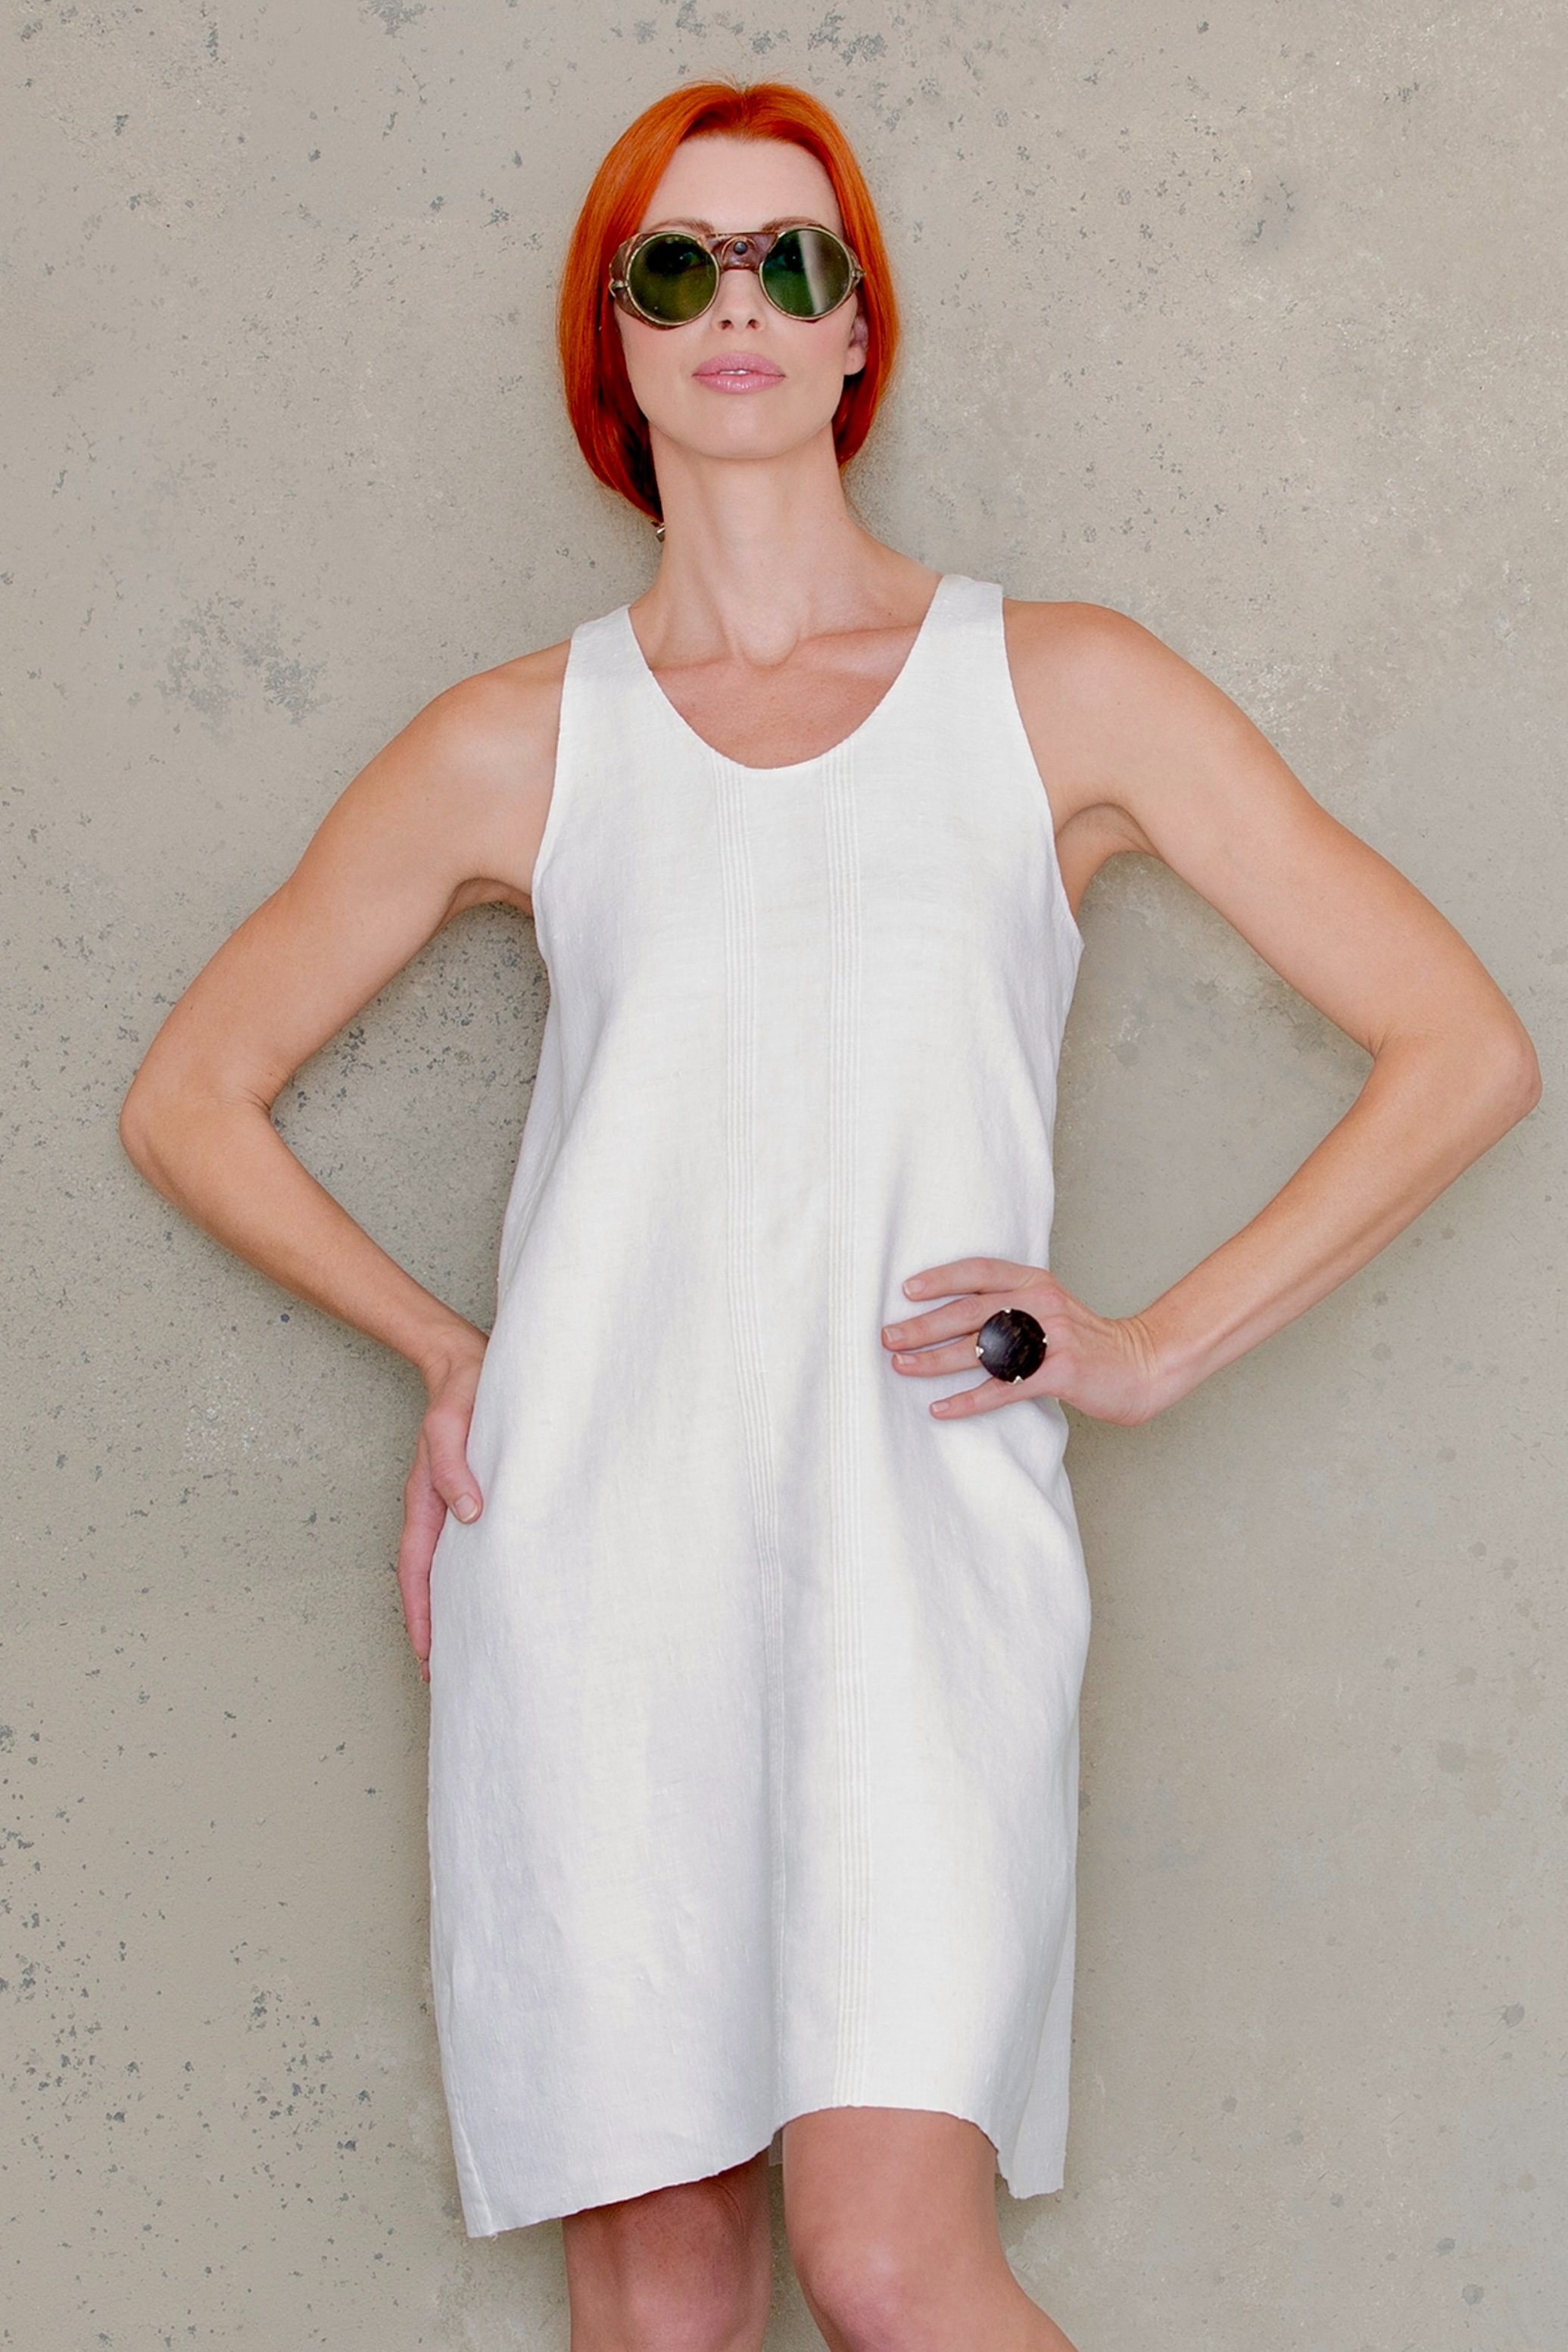
Ann Normandy Slip Dress Sewing Pattern Sew-Along Part One
The Ann Normandy Slip Dress sewing pattern sew along video, hosted by my friend and sewist Ann Siegle.
Ann Normandy Slip Dress Sewing Pattern Sew-Along Part One
In part one of this series, Ann invites us into her sewing studio and takes you through the construction of the Slip Dress. Ann guides us through each step, making it suitable for sewists of all levels. From pattern preparation to garment assembly, Ann's sew-along video is a terrific resource for anyone looking to create a beautiful Slip Dress while learning a few of Ann's sewing tips and techniques.
The Slip Dress sewing pattern combines casual and elegant elements with a lovely backline, shoulder cutaways, and a soft rounded V-neckline in the front. Designed for heavyweight linen, the simplicity of the design allows for creative fabric choices, selvage, or other hem treatments. In this series, I'll guide you through the entire sewing process, from taping the pattern together to cutting the fabric and assembling your garment.
Ann Normandy Design Slip Dress sewing pattern cover page of the instructions packet.
Determine your size:
Ann Normandy Design Slip Dress sewing pattern size, finished measurement charts and fabric recommendations.
Inside your Ann Normandy pattern packet, you'll find a size chart ranging from XS to 2X. The pattern block is drafted in size XL and C cup.
Take your measurements and mark down your size accordingly.
To achieve proper fit in the bust, measure the upper bust (running the tape from the underarm across above the bust).
Once your size is determined look at the finished garment measurements to check your ease, especially in the bust and adjust if you wish.
If you fall between two sizes, the multi-size nested pattern allows you to cut between sizes for a customized fit. However, if you're unsure about your size, consider making a muslin with an inexpensive fabric of a similar weight to your good linen. This way, you can ensure a proper fit before cutting into your linen fabric.
Taping the Pattern:
The Ann Normandy Slip Dress has a relatively small number of pattern pieces, making easy to assemble.
When assembling the pattern, gather all the pattern pieces in tile order first.
Take the first pattern piece and fold the long right edge of the pattern border
Align the triangle on that edge with the corresponding triangle on the next piece. I recommend using a single piece of tape to secure the connection.
Once you've taped all the tiled pieces, you can tape the entire pattern to ensure secure, clean lines.
Printing the Pattern:
Check out this video tutorial on how to print a tiled/A4 PDF sewing pattern for the home printer:
https://www.youtube.com/watch?v=svqt5CkGhMQ&t=6s
In addition to the tiled version of the Slip Dress sewing pattern, the packet includes an A0 and a 36-inch file. You can print the full-size pattern if you have access to a 36-inch plotter. For convenience, you can also use a service like pdfplotting.com to print the pattern on one large sheet of paper. However, if you enjoy the process of taping, like me, feel free to tape the sewing pattern together using the tiled pages.
Cutting the Pattern:
In this sew-along, I will lay the pattern crosswise to use the selvage as the finished edge. Place the pattern along the edge of the fabric, aligning it with the selvage. Otherwise, fold it under to create a hem. Begin cutting them out carefully. If using a material that unravels, sew a zig-zag or overcast stitch around the edge of each pattern piece to prevent unraveling.
Ann Normandy Design Slip Dress sewing pattern fabric layout recommendations.
In part two of the Slip Dress sew-along, we'll move on to sewing the dress, where you will learn how to finish a narrow edge neckline, armscye, and flat felled seams.
Stay tuned for part two, and happy sewing!
Kim


