How to Batik A Sundress using the Ann Normandy Design Slip Dress Sewing Pattern
How to Batik the Ann-Normandy Designs Slip Dress Sewing Pattern
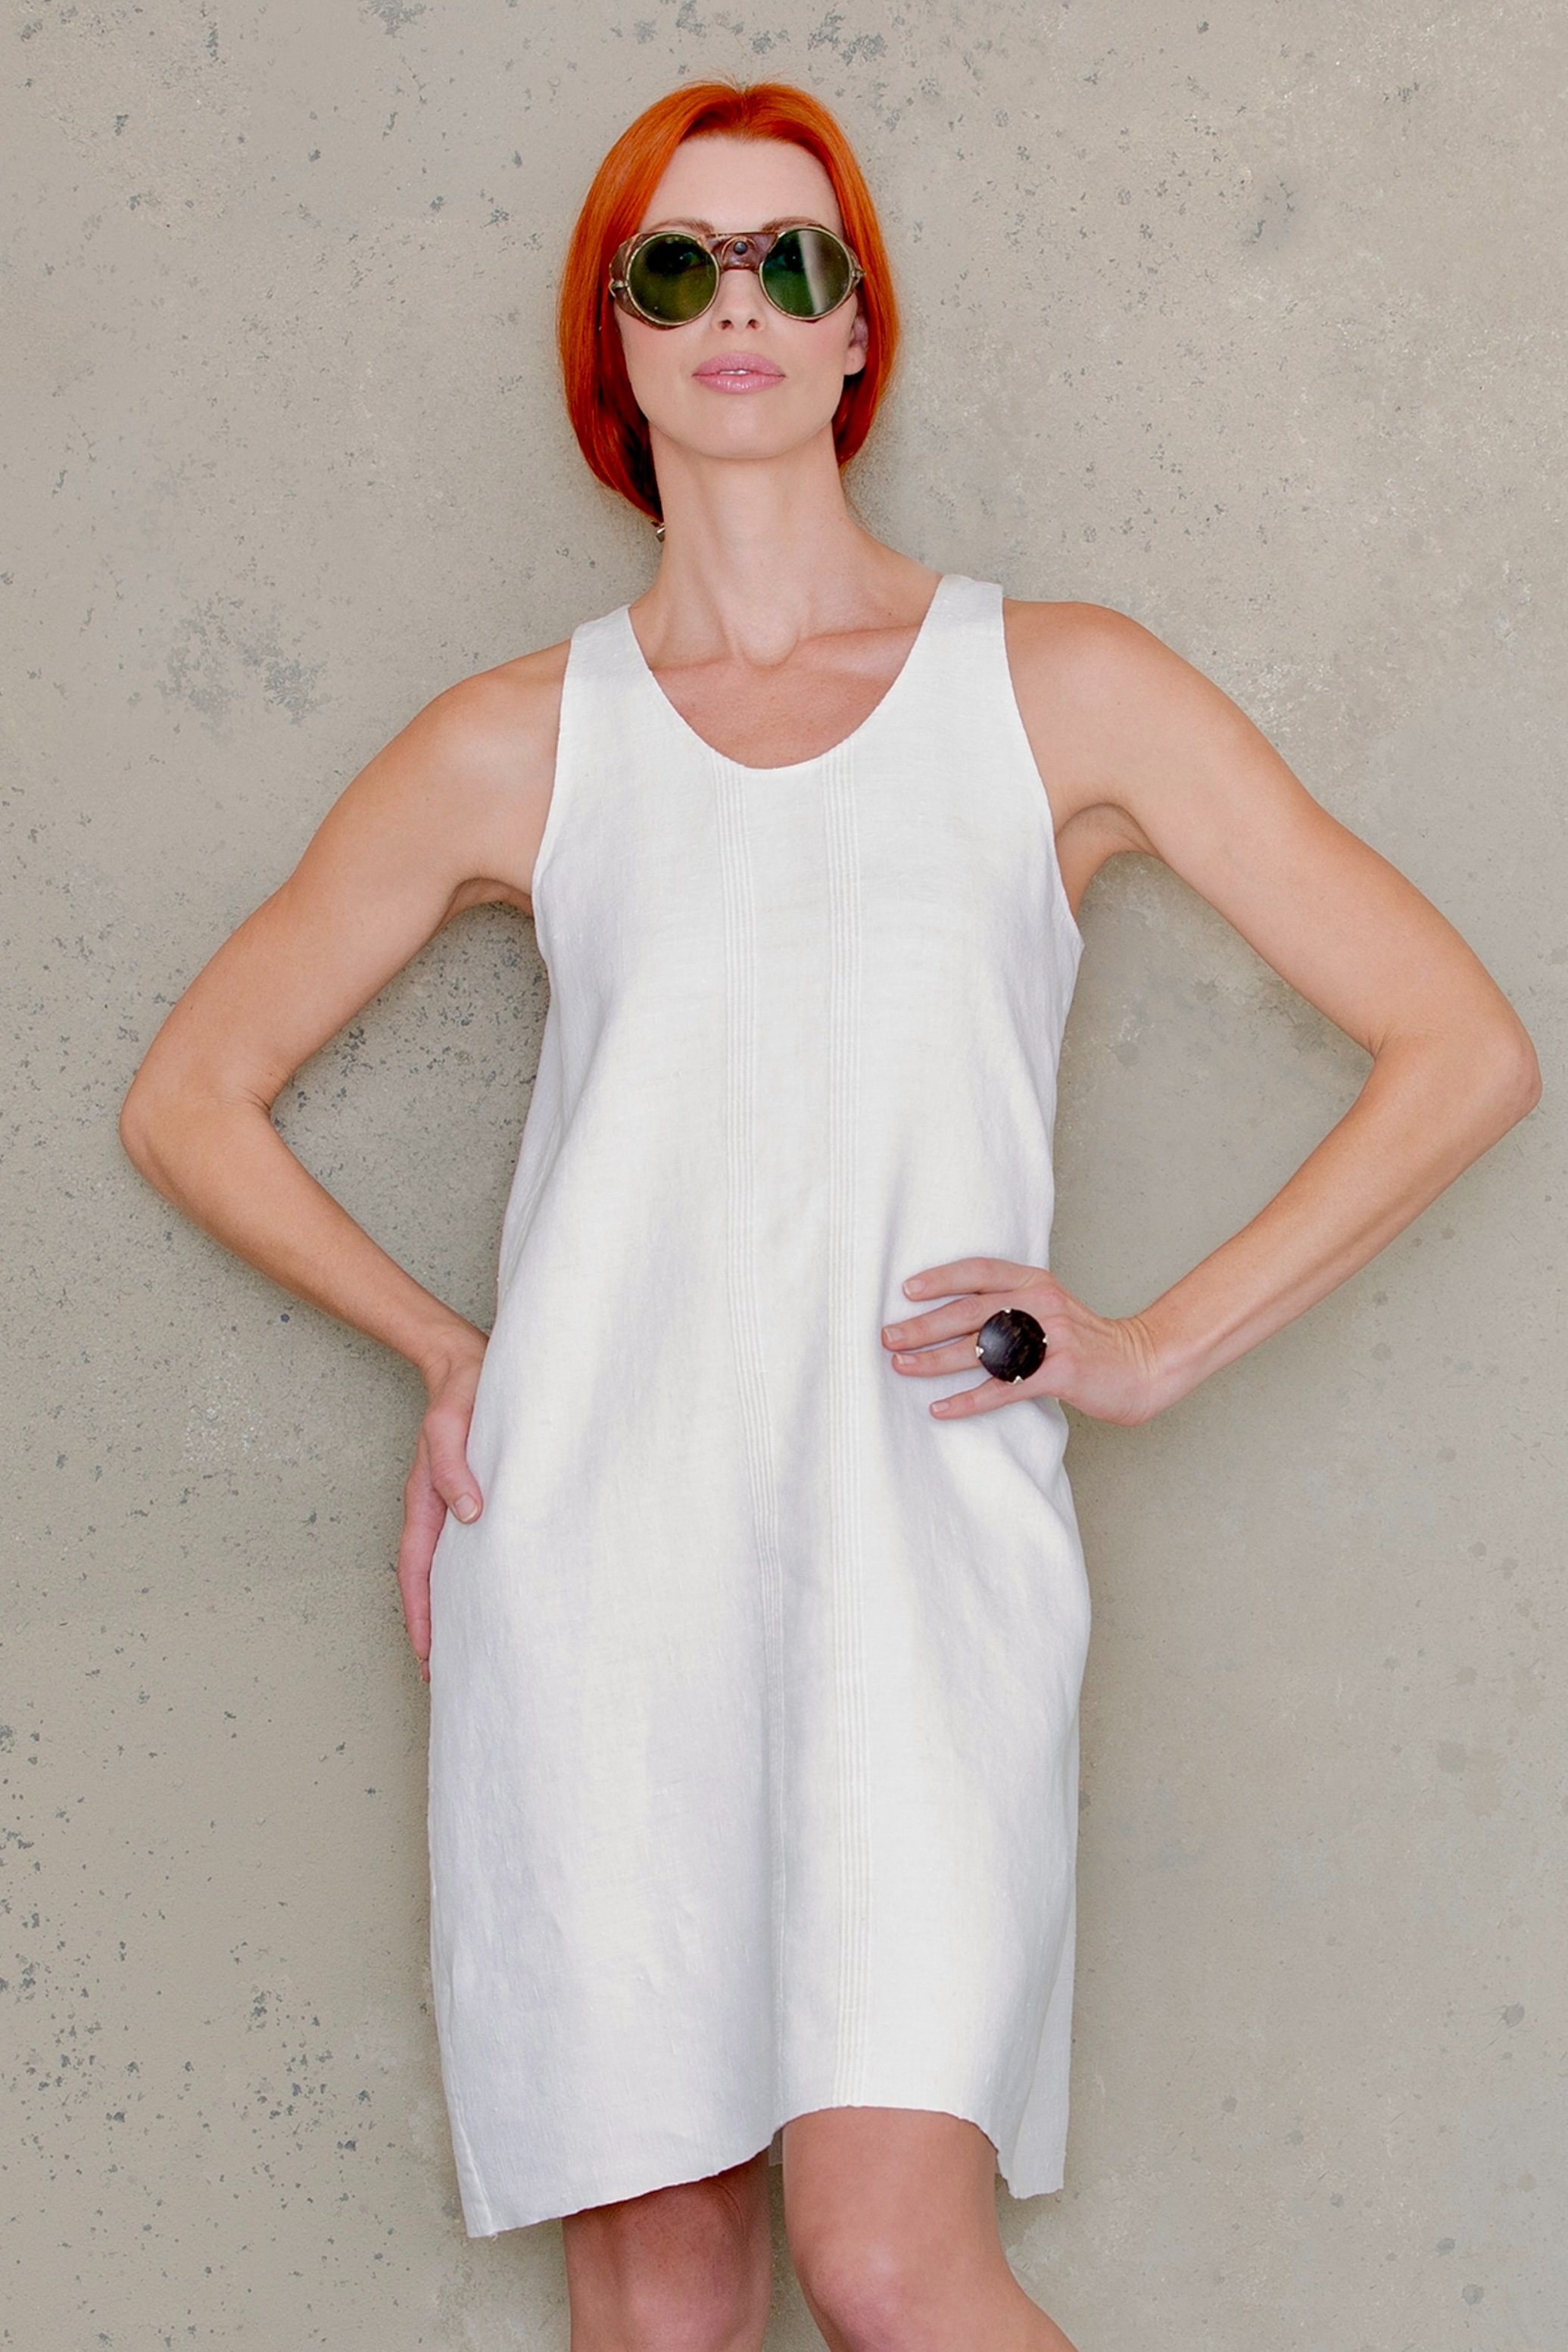
Batik is an easy craft that’s approachable to get into and offers fun results. The Ann Normandy Slip Dress sewing pattern is an easy pattern to batik due to its simplicity. In this blog, we’ll show you how to batik a sundress using the Ann Normandy Design Slip Dress Sewing Pattern.
Ann Normandy Design Slip Dress with a Batik pattern design
You’ll need a few things to get started:
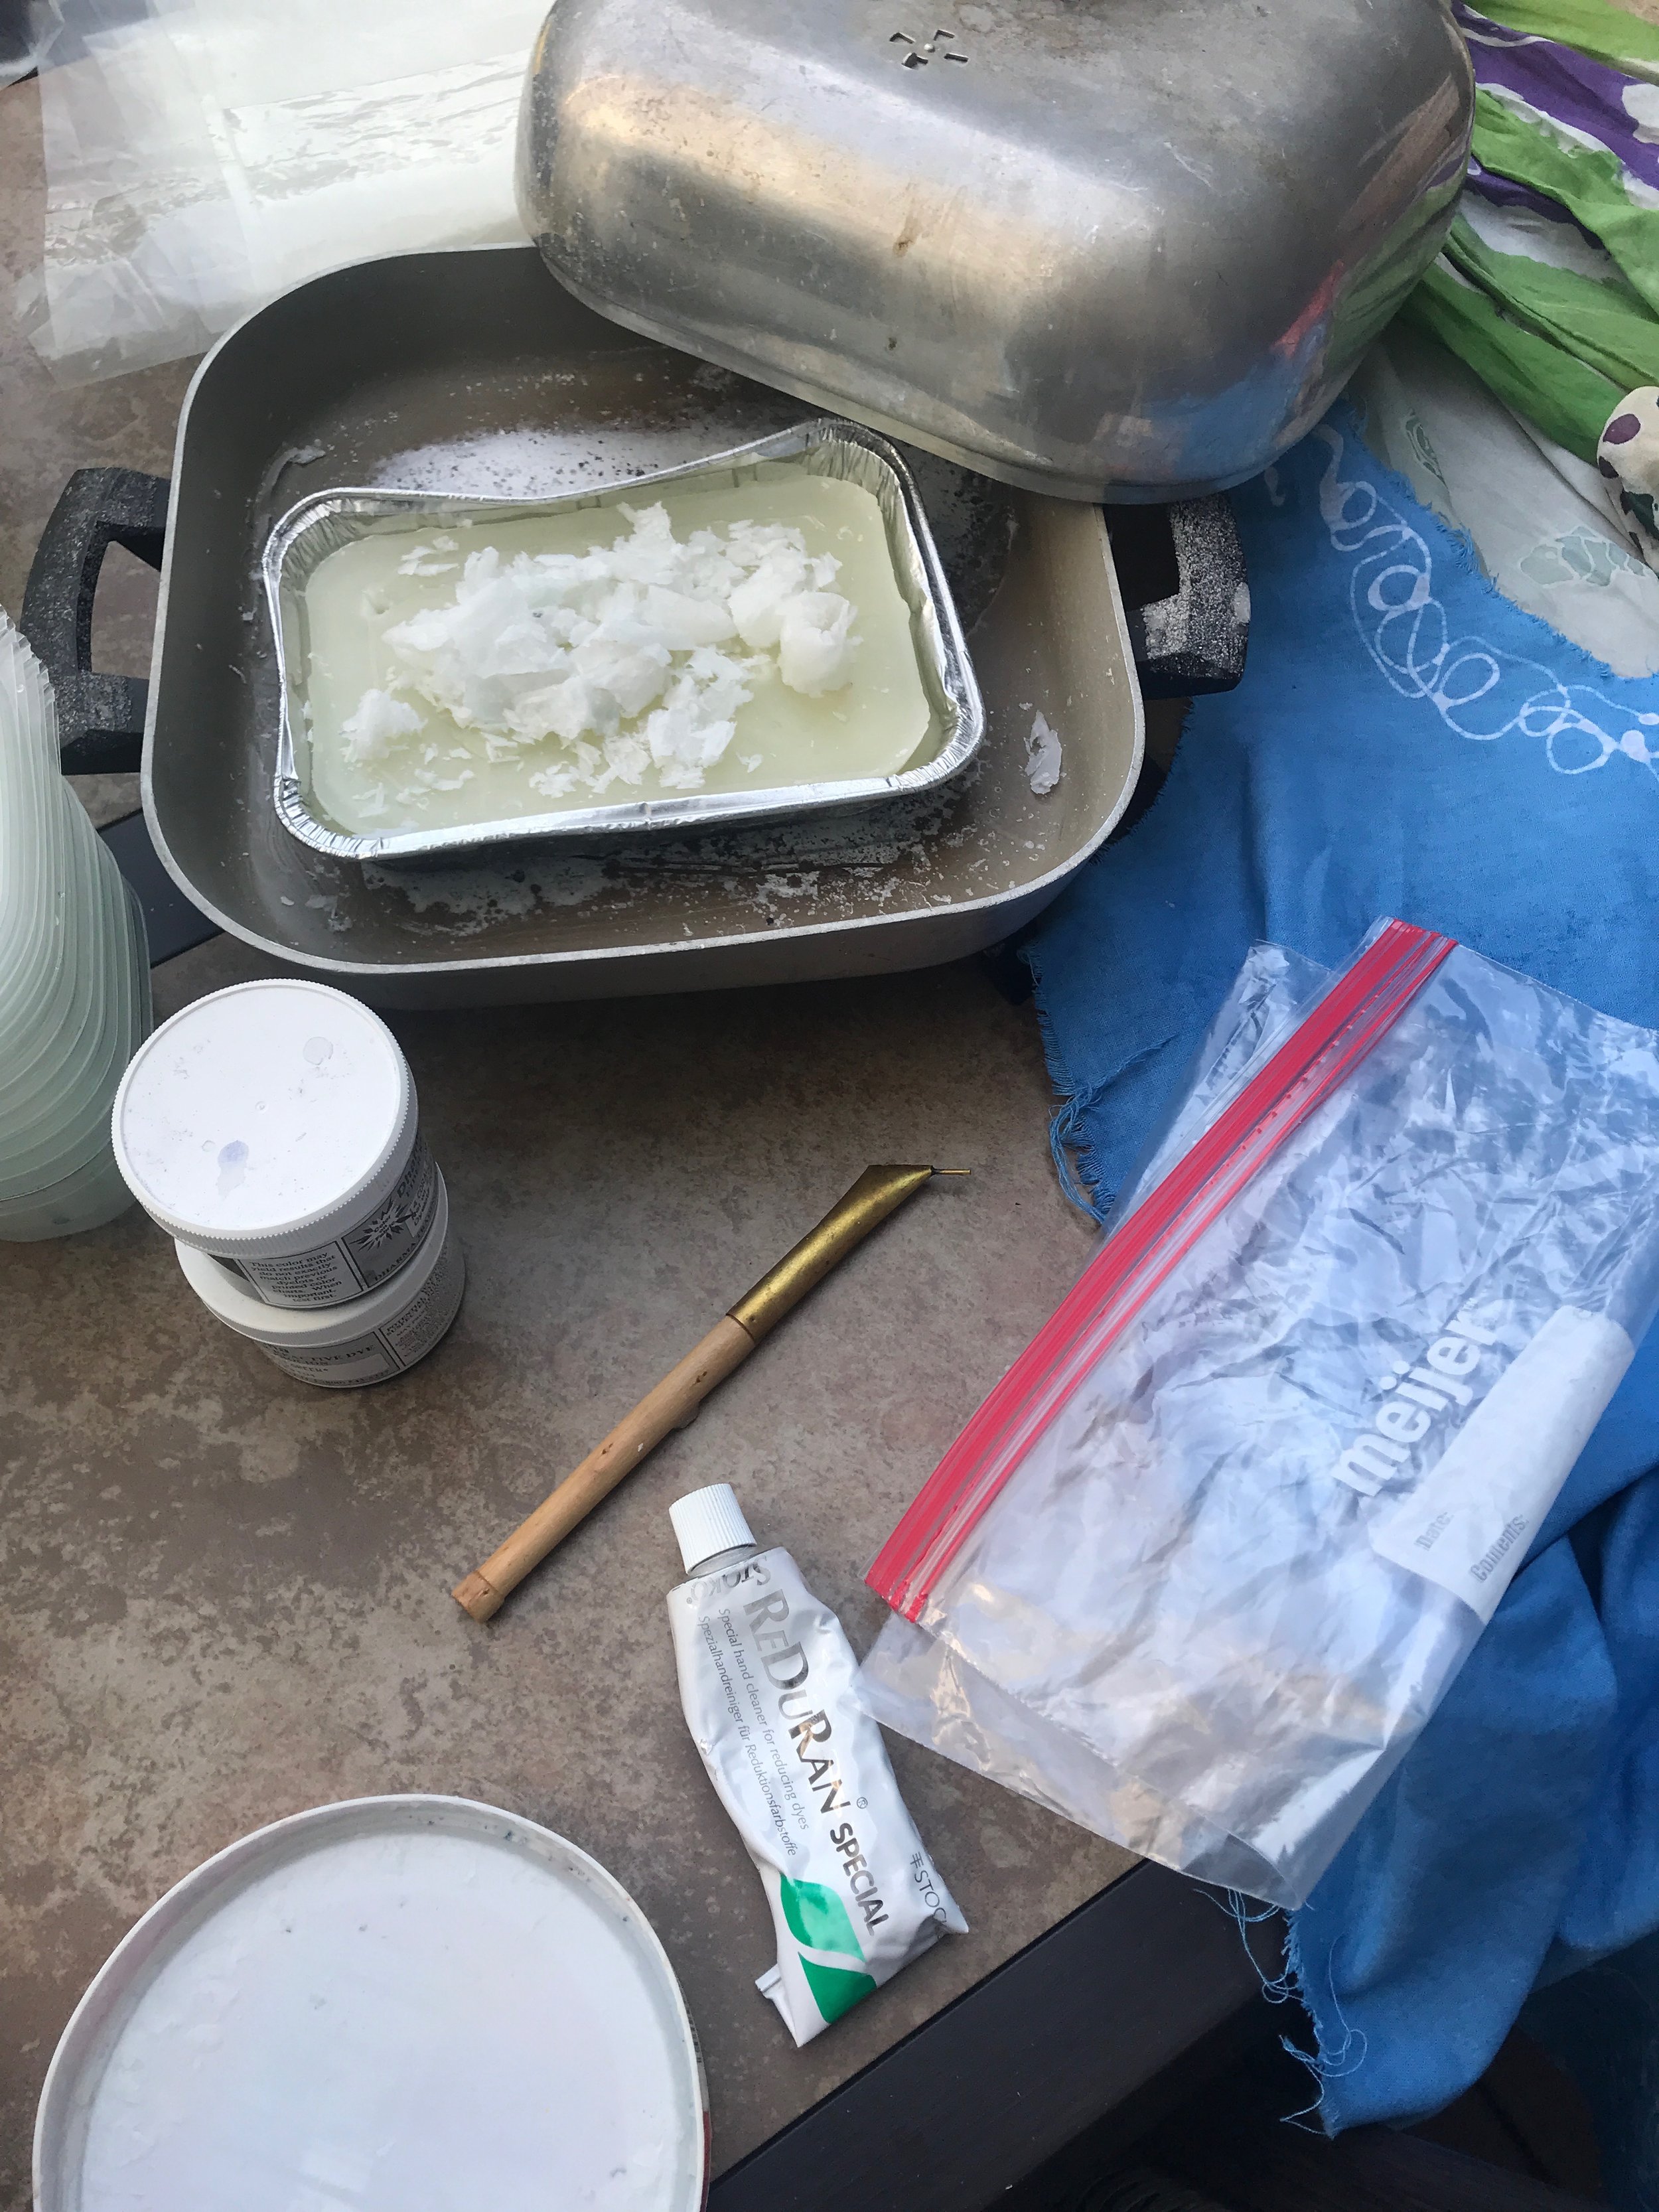
Dye – you can use Rit dye (premixed dye) available at craft stores and mix your own hues according to their color formula. Or you can mix your own dye using the Procion dyes and the associated chemicals that are used for dyeing. You can get these as kits at DharmaTading.com online.
Wax – Batik wax is a blend of beeswax and paraffin wax, that allows the dye to flow smoothly and crack during the cold-water bath, producing the iconic style of batik wax resist. The batik wax I buy comes in a metal tray which I use floating on a water bath in an electric skillet.
An electric skillet: This is essential for keeping wax at the right temperature. I bought mine used but you can find them new.
Tool to use to batik the Slip Dress by Ann Normandy Design.
Things to apply wax with:
Decorative pieces to apply wax to the garment.
Copper cookie cutters,
Wood clothespins as handles
Wood blocks
Cardboard tubes or cardboard pieces folded into shapes (like accordion which makes zigzags)
Copper tjanting (pronounced canting) tools used to dip and paint or draw with wax
Paintbrushes (with natural bristles) for painting on effects with wax
Natural fabric, prepared for dyeing that has been prewashed; cotton, rayon, linen and silk are all good choices
Start with the Slip Dress pattern pieces cut out, before dying.
I chose to cut out the Ann Normandy Slip Dress front and back pieces from PFD (prepared for dyeing) Kona cotton that I had prewashed. I used the pieces flat, rather than sewing them together first because most threads have polyester in them and poly will not dye with these kinds of dyes. Dye first, and sew with matching thread later.
I used a tjanting tool to apply the wax. I dipped the tjanting in the wax, and held it over a plastic food container lid (to control wax drips along the way from the wax pot to the garment) and then painted. It’s a bit like drawing with real link in a quill pen – you’ll have to dip again. Flowing shapes that connect work best. And on the AND slip dress, I did a wave with dot pattern and a swirl pattern around the pattern shapes.
Cutting out the pattern first means you can work around the pattern’s shape – in this case, I batiked both the front neckline, and the back. The back, I used a large heart shape as the design. I also batiked the hem of the dress.
Once you have your wax on the fabric, you should prepare your dye bath according to the dye type instructions. Usually it’s about ½ gallon of water per the dress itself (or less). I use a bucket but you can also use a large plastic bin that is rectangular. The longer rectangular shapes of these bins allow clothing to spread out more and dye with more accuracy.
Get the fabric wet with cold water and squeeze the excess water out – this cold water bath cracks the wax. Then, unfold the garment and dip and soak in the dye for 10-25 minutes depending upon the color. Then, gently remove and squeeze excess dye out and place into a large gallon zip-lock bag. Squeeze the air out of the zip lock bag and leave the garment in the bag for up to 24 hours.
When you remove the dye, you can drop it right in your washing machine and wash. I use synthrapol textile detergent which prevents back staining of the non-dyed areas (although, your wax is still in place). Wash on cold water only.
Once your garment is washed, it’s time to remove the wax. I use a large bucket and an electric kettle set at 200 degrees. I pour hot water over the garment as I hold it with metal tongs and rinse the wax out. The wax will coat your bucket – you can scrape excess cooled wax off when done, but it’ll always retain the waxy coating. NEVER melt the wax over your sink drains and never pour the melted wax water down your drains. It will harden and clog up your drains. Take the water in the bucket and use it to water your garden or plants (the excess hardened wax bits won’t hurt the garden.)
Some waxy residue may remain. Using clean paper (brown packing paper is best, but paper bags also work), sandwich the fabric between paper and iron the paper on medium heat. This removes the remainder of the wax. It may leave a slight halo, but that is also part of the effect.
The finished Batiked pattern pieces
Sew your dress as usual when done!
Happy crafting!
Kim


